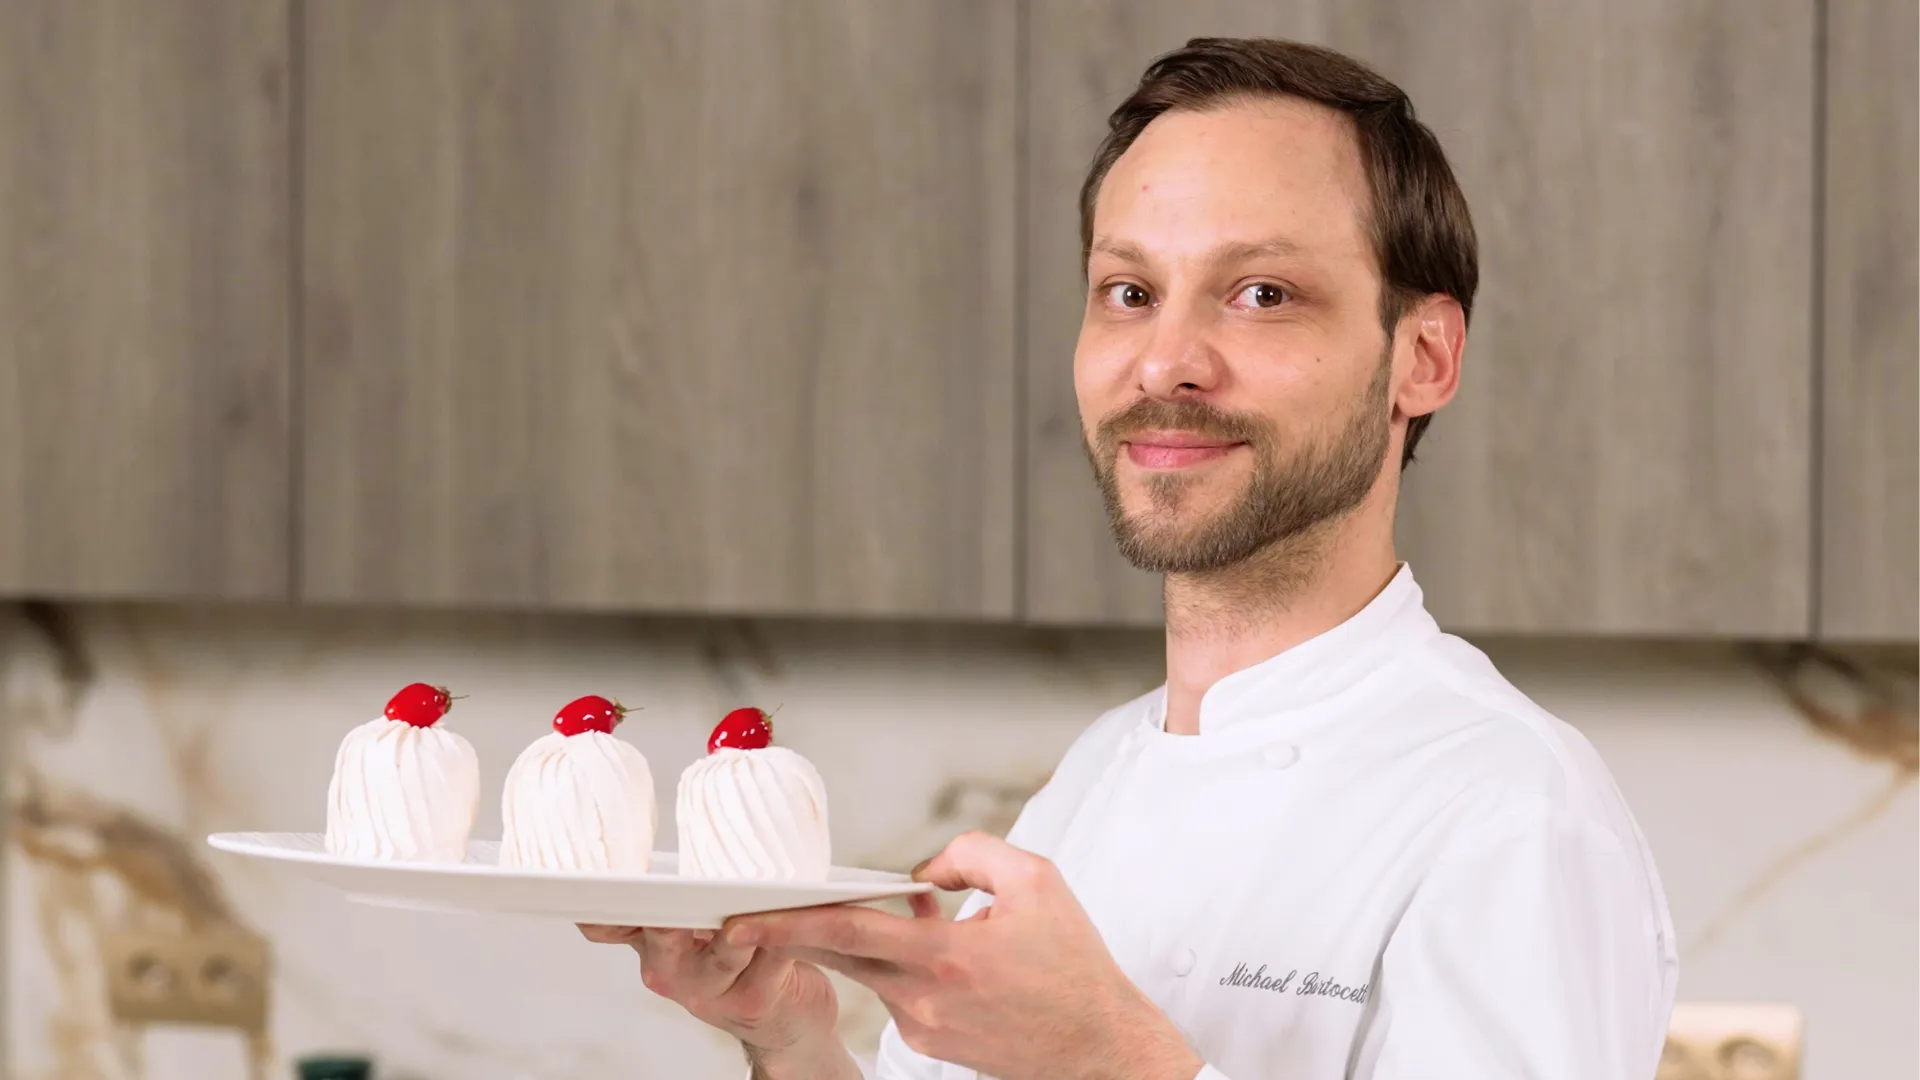
You may have felt that little doubt in front of a bowl of melted chocolate, wondering how to achieve the silky, smooth chocolate ganache you admire in pastry-shop windows.
Good news: ganache isn’t reserved for pros. With the right cues and gentle movements, this guide walks you through calmly, step by step like having a pastry artisan at your side.
Imagine a velvety texture, deep chocolate, cream melting in slowly to create a glossy, almost satiny mass. On the spoon, the ganache stretches softly, promising a melting, comforting mouthfeel.
A simple knowledge bomb: a successful chocolate ganache depends on a precise balance of fat, liquid, and temperature far more than on a complicated recipe.
In this article, you’ll discover:
Take a breath, let the chocolate melt gently: you’ll see, making ganache quickly becomes a simple, almost soothing gesture.
Before it’s a recipe, ganache is an emulsion a harmonious union of two elements that don’t naturally mix: chocolate and cream. At the right temperature, they form a stable, smooth, deeply indulgent texture.
Pour hot cream over finely chopped chocolate and you’ll first see a dull, hesitant surface. Stir gently and the magic happens: the chocolate relaxes, fat disperses, and the ganache turns homogeneous and glossy. It’s a satisfying moment—the texture builds under your spatula.
Temperature is key. Over-hot cream can scorch chocolate and make it grainy; too cool and it won’t fully melt. Aim for steaming, not boiling cream. This detail is everything and explains why some ganaches feel “unfixable”… when better heat control is all they need.
Chocolate ganache underpins many preparations: cake filling, entremets smoothing, macaron filling, even whipped ganache. Understand the mechanism and you can adapt it freely.
To remember:
The classic approach is the most reliable and repeatable. Start with good chocolate, finely chopped to promote even melting this alone sets you up for a smoother finish.
Gently heat the cream. As it warms, a soft, milky aroma appears. At the first simmer, pour over the chocolate. Don’t stir immediately wait 1 minute so the chocolate relaxes and begins melting without shock.
Then stir from center to edges. The mass thickens, then turns silky. The spatula glides, the surface shines, and the texture unifies. Keep motions slow and steady too fast introduces air; too rough can break the emulsion.
For extra satin, add a small knob of butter at the end. It melts instantly, adding roundness and a lovely sheen—great for finishing.
Use the ganache warm to glaze, or let it cool for a firmer texture suited to filling or smoothing. Each minute of rest subtly changes consistency, letting you match the use case.
Helpful tips:
There’s no single “ideal” texture usage dictates it.
As ganache cools, it naturally firms from pourable to creamy to dense. Watching this evolution tells you when to use it. Too warm = runs; too cold = hard to spread.
For whipped ganache, patience is key. Whip gently: whipping too fast warms the mass and destabilizes it; whipping too long can turn it butter-like. Observation wins.
Good to know:
Even with experience, ganache can act up. Too runny, too thick, grainy nothing’s lost.
With time these adjustments become instinctive you’ll feel under the spatula when ganache needs a touch more warmth or a small ingredient tweak.
Quick tips:
You now have the essentials for a smooth, melting, perfectly tuned chocolate ganache. Take time to observe textures, feel changes under the spatula, and trust yourself. To go further and refine your touch, an online pastry course can deepen your practice at your own pace.

Straight to your inbox, every week
Unlock the secrets of the greatest French pastry and bakery Chefs
Master advanced and expert techniques
A professional and detailed look at essential tools and ingredients